Posts by Scott

I posted this video on YouTube a few months ago. I’m still amazed at how much stuff it filters out with such a simple system.

I was considering adding a swirl filter to the system but I’m really glad I chose this type. It seems to work much better than a swirl filter and is easy to maintain.

About a month ago, the supports under the filter broke and the whole thing fell onto the ground. The fix was easy and only one pvc pipe fitting was broken.

I also am grateful of the design of my system being one that will not totally drain the fish tank or the system when a failure occurs. The pump simply stops when the water gets too low and everything stays wet and waiting for my repair.

I found this on my tablet and decided to post it.
I know it is not current (it’s August 2013 now). But it shows the progress of the system in just a few weeks from the planting.

Most of the crops have run their course for the summer and the output was fantastic. The Romain Lettuce was nearly 36″ tall at one point. My family had difficulty eating enough to keep up with the output.

The tomatoes, bell peppers and okra are still producing but nearing the end of the cycle. I will be replanting in the next few weeks assuming I can find the time.

I am very pleased with the results of the aquaponics garden. The taste of the lettuce is far above store purchased products. Although there were a few problems with pests, most of them were easy to control if caught early.

Enjoy the video, I will be posting more when I do my fall planting.

My last post showed some minnows I harvested from the local (adjacent) bayou.

Apparently, there was a small flaw in my plans.  The minnows like to school together and as part of the schooling process, they decided to swim (as a group) too close to the sump pickup tube in the bottom of the fish tank.

Even though the pickup tube has a filter inside the tube to keep small fish from being sucked out of the tank, these minnows were tiny and went right through the screen.  I did not witness this but this morning when I checked the tank, there were only about 5 of the 25 minnows left in the tank.  I think they swam in a school too close to the pickup tube and were vacuumed into the filter bed.

So my next plan is to replace them with more minnows from the bayou.
I have found a minnow trap at the local Wally World and will bait and see what swims into the trap.  I figure I can use this method to do some more ‘trial’ fish stocking at no cost.

Of course, before I put more into the tank I am going to put a finer filter into the pickkup tube to keep the small guys out of the filter bed.

I’ll add some more photos in a few days.

I’ve had the Aquaponics system up and running (water flowing) for over a week now.  In that time, the night time temperatures dipped to around 32 degrees several times.  To protect the plants I had to cover the plants in the tubes and growbeds with plastic over the tops.

This seemed to work pretty well but I did loose some leaves and two plants that were questionable even before the cold.

I had to make a few adjustments in the lower grow bed/filter.  The filter was raised about 10″ above the sump tank.  This was not as efficient as I wanted so I lowered it about 6″ and the flow from the fish tank is much better.

Today, I decided it is time to add fish but I had not decided what kind to use.  Just to get my feet wet (ha ha) I decided to use the great resource all around my property, the Pearl River.  I took my tank simmer net and went down to the river’s edge and scooped up about 20 small minnows.  I’m not sure what kind of fish they are but these will do just to see how fish handle the water.

Here is a photo of them in my tank.
Hopefully, they will survive with my experimental system.

20130330_175930

Here is a video of my working system without fish.
It covers my sump tank with filter bed on top and my grow tube area.
The grow tubes are 40 feet from my sump tank and 15 feet higher on my deck.

I plan to add fish soon.  I’m doing a fishless cycling of the water until then.

My Aquaponics project has been on hold since late August 2012 when Hurricane Issac arrived.  One thing after another kept poping up distracting me from continuing the project.  The hurricane really did a number on the system.  All of the tanks were flooded and most of the semi-buried pipes floated out of the trenches.

But now I’m finally able to continue the project.
I’ve not changed my plan from the original idea and
I have almost completed the filter bed (photo below).

The small half tank on top is the filter bed.
The 2″ pipe comes in at the top left side which is the overflow from the fish tank.
The two full tanks on the bottom are the sump tanks.
The left tank receives the bell siphon flow from the filter container.
When the water fills to just above half way full, it flows into the right tank.
This tank contains the pump that pushes the water back to the grow tubes

Below is a close up view of the filter bed showing the bell siphon and the flow pipe from the fish tank.  I temporarily have one of the pipes from the pump feeding back into the filter bed but normally this would go into the fish tank to provide additional flow into and from the fish tank.

Filter

Filter

The pump in the sump tank pumps water into a 1″ pvc pipe to the grow tubes 12′ above on the deck around the house.  The 1″ pipe was inserted into the 4″ drain pipe that returns the water from the grow tubes to the fish tank.  I did this to keep the clutter to a minimum and not have to run two separate pipes around the deck.
Here is a photo closeup showing the 1″ pipe entering the 4″ drain pipe just over the fish tank.

3" Pipe with 1" pump input

3″ Pipe with 1″ pump input

The vertical pipe is a temporary addition until I decide how to return the water to the fish tanks.  The pipes have not been glued and can be moved and changed easily.

3" Vertical Return Pipe

3″ Vertical Return Pipe

This is how one of the fish tanks looks where the 4″ pipe enters.  I’m considering if I want to add a sprinkler type flow or smaller jet type.  As I said, this is just a temporary arrangement until I decide how I like it.

Fish Tank Return Pipe

Fish Tank Return Pipe

The water that is pumped into the 1″ pipe eventually finds it’s way to the upper deck grow tubes.  I have 6 rows of tubes and when completed, there will be 2″ holes drilled into the tops of the tubes every 6 to 8″ for the net pots.

The water will be pumped into the top grow tube and will flow down to the bottom tube and then into the floating raft container on the left side of the photo.  There is an overflow tube that keeps a constant water height to float the raft and then return the water into the 4″ tube to the fish tanks and back to the pump. These square tubes are not mounted properly yet.  When finished they will be square and level end-to-end.

Square Plant Tubes (NFT)

Square Plant Tubes (NFT)

P.S. On the left side of the photo you can see the wild turkey that lives on the property.  I would say, that I allow him to stay but that would not be entirely accurate.


Thomas (the name I chose for him) showed up on the property about 3 years ago and decided to allow me to stay.  He thinks he owns the place and I’m just there to give him food and clean up the turkey poop he drops all over the deck and the yard.

There is nothing like a hurricane for disrupting an aquaponics project.

Especially when the expected tidal surge is 12 feet and your garden is 10 feet above sealevel.

So last few days have been spent tying everything down.  I’m nearly finished with my stuff but I also have clients that are pleading for help to secure their property and computers. (Did I mention I’m an IT consultant?)  With Issac (hurricane/tropical storm) 100 miles off the coast I’m busy backing up stuff and moving PCs etc instead of finishing my tying down.

Thankfully it looks like this will only be a mild inconvenience and I can soon get back to the garden setup.

I’ve been busy planning and redesigning the system.

Seems like when I experiment with things I’ve never done before, I try to do things that are way out of the ordinary.  I tend to challenge every concept to see if there is a better way to do it.  Sometimes this is a good thing.  It makes me think ‘out of the box’.  But sometimes the outside of the box thinking leads to a lot of unnecessary detours or added expenses because of trying to do the impossible.

This is one of those times.

In trying to create a filter box that would be ‘custom’ built and perform great, I spent a great deal of time and energy chasing an expensive rabbit.

(There was a picture of the box but it was lost so just the description now.)
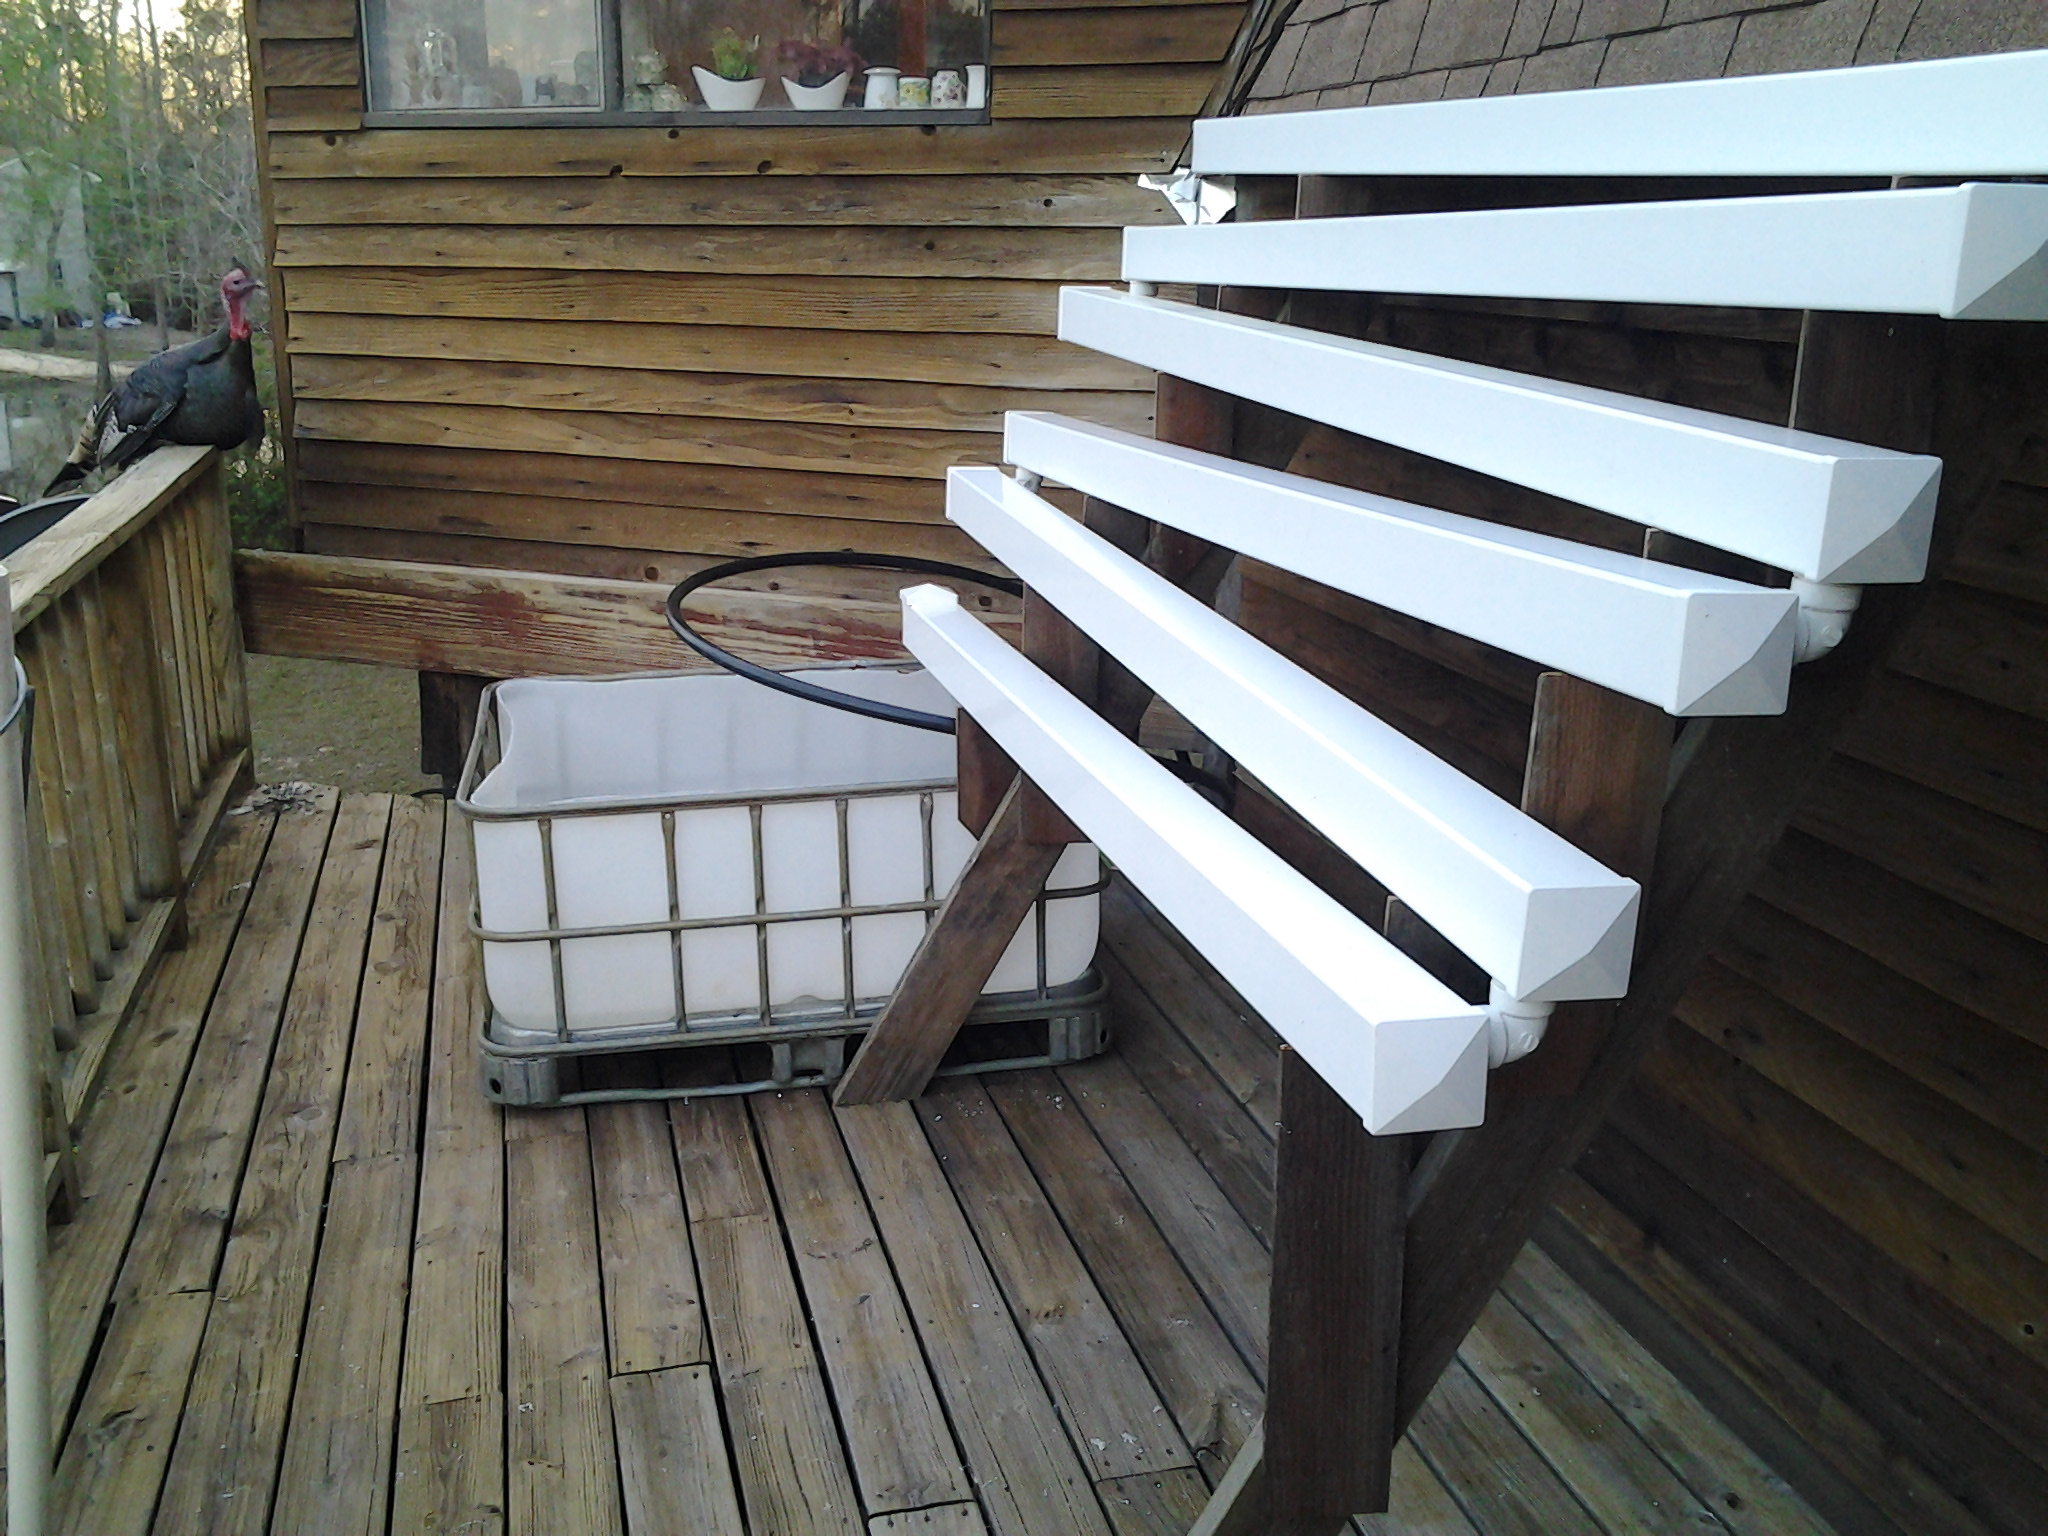
  It is custom designed to sit on the dual IBC totes and fit perfectly without covering the access covers.

After I spent the better part of my day building this wooden box, I decided the best way to seal it would be with fiberglass resin and fiberglass cloth.


I had forgotten how frustrating it can be to work with fiberglass.  It seems to have a mind of it’s on.  Each time you try to apply it to the resin to the fabric, you get a wrinkle.  I found an online tip to use spray adhesive on the wood and ‘stick’ the cloth to the wood.and then appy the fiberglass resin.  This would have been fine except, I was in a hurry and did not want to stop and go get some spray adhesive.

The result was a box with lots of wrinkles and bubbles in the glass.  To top it off, it was not water tite.  I know that will not be acceptable so I started over.

This time, I had the brainstorm to use some polyproprolyne tight woven fabric as a liner.  In prelimiary testing of the fabric, it seems to be water tight.  So I spend a day planning the layout so that I could have one piece of fabric and cover the entire box with no seams.

After completeing the project, I find that the fabric IS NOT water tight.  It leaks alll along the seams.  No amout of caulk, silicone, fiberglass will solve the issue of waster pouring from the seams.

(No Pictue) of the finished box sitting on top of the sump and holding tanks.  It looks good but really does not “fit”. And I don’t like the way it looks.

After a dismal failure of the filter box water test, I had to consider other options for making the seams water tite.  The reason for even attempting to custom build it was to save money.  As it turns out, I could have purchased a finished product and not had the headaches of ‘building it yourself”.  The cost of the box and materials has almost doubled what I could have purchased a similar rubbermaid tank.

While considering the next step and what to do with a wooden filter box that does not hold water I discovered I had over-looked the most obvious choice.  When I started this project, I purchased 6 IBC Totes.  After setting up the ones I need I have two left over.  I can use one of them and cut it in half and make a nice “water-tight” filter bed.  The cost?  $40 for the IBC.  DUH !!!
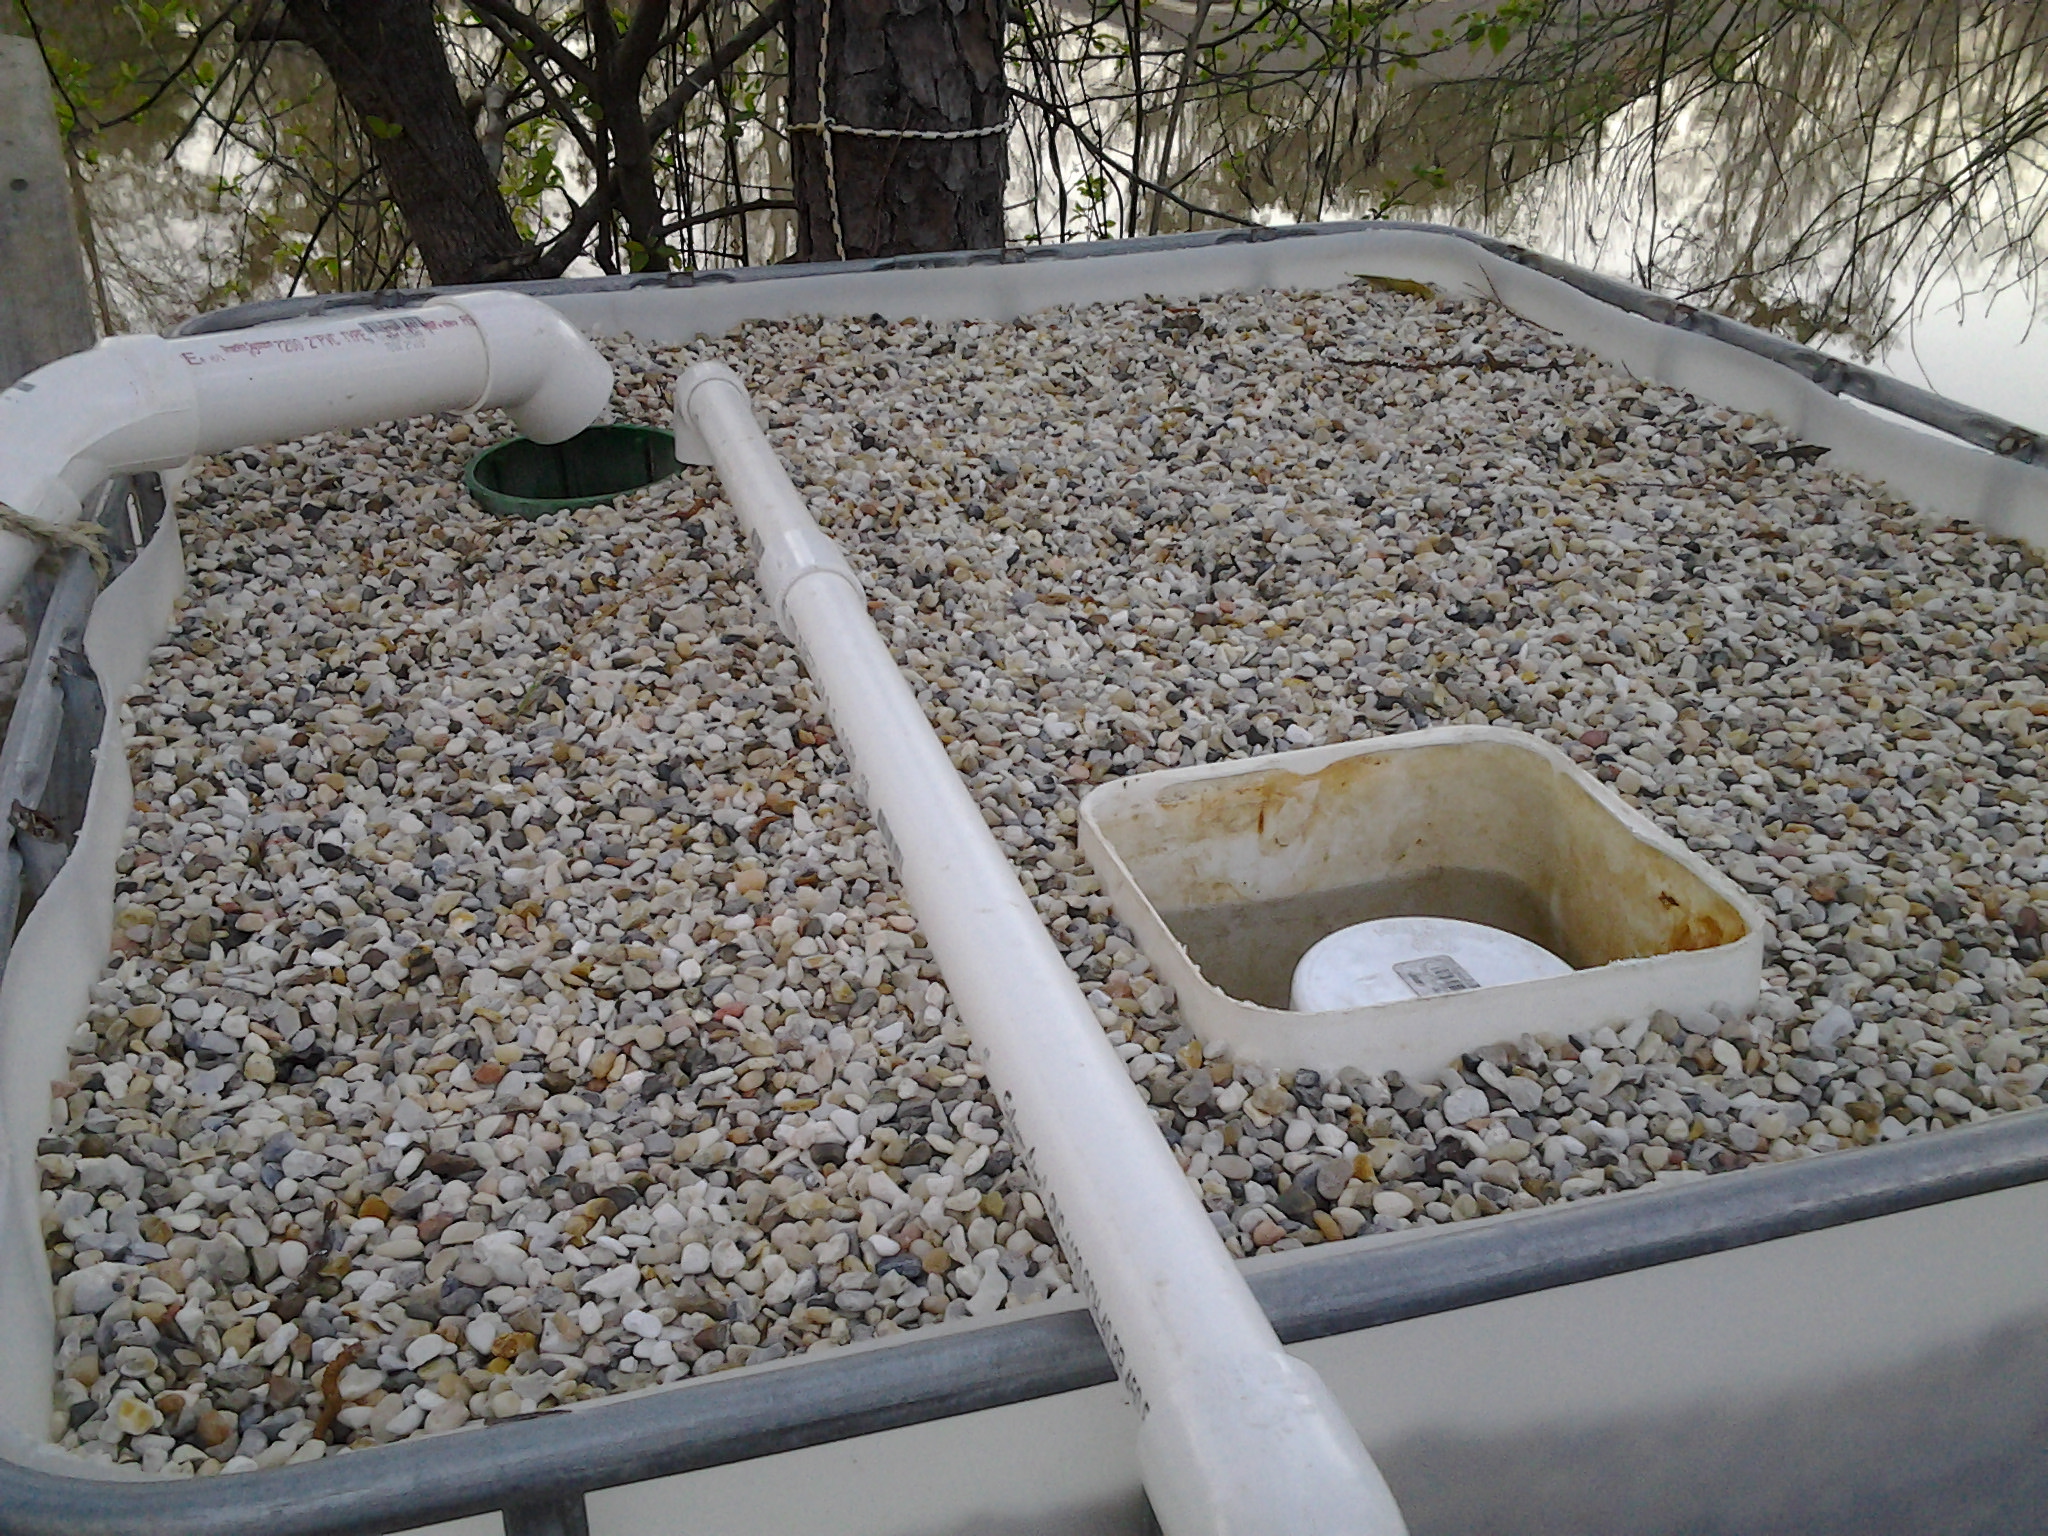
Tote Bottom on Sump

Tote Bottom on Sump

This is a picture of the tote sitting in it’s resting place on top of the Sump and Holding Totes.  That looks better and I like the way it fits.  🙂

In my next post I will show you how I prepared the tote for it’s new use.  I’ve designed it with what I consider a great water transfer desing.  It does not require any cutting of holes in the tote.

After a day (weekend) such as this, I’m calling it a night.

This is a similar aquaponics system to the one I am building. I am adding a sump tank in addition to the fish tank so my pump will not be in the fish tank.  The NFT type system uses a small flow of water across the roots of the plants to feed them.

This is just one of many animations on this topic.  I hope this shows a general idea of the concept.  Of course, I will be doing a lot more video’s and photo’s of the actual system as the building continues.

Thanks for following the blog.