I’ve been busy planning and redesigning the system.
Seems like when I experiment with things I’ve never done before, I try to do things that are way out of the ordinary. I tend to challenge every concept to see if there is a better way to do it. Sometimes this is a good thing. It makes me think ‘out of the box’. But sometimes the outside of the box thinking leads to a lot of unnecessary detours or added expenses because of trying to do the impossible.
This is one of those times.
In trying to create a filter box that would be ‘custom’ built and perform great, I spent a great deal of time and energy chasing an expensive rabbit.
(There was a picture of the box but it was lost so just the description now.)
It is custom designed to sit on the dual IBC totes and fit perfectly without covering the access covers.
After I spent the better part of my day building this wooden box, I decided the best way to seal it would be with fiberglass resin and fiberglass cloth.
I had forgotten how frustrating it can be to work with fiberglass. It seems to have a mind of it’s on. Each time you try to apply it to the resin to the fabric, you get a wrinkle. I found an online tip to use spray adhesive on the wood and ‘stick’ the cloth to the wood.and then appy the fiberglass resin. This would have been fine except, I was in a hurry and did not want to stop and go get some spray adhesive.
The result was a box with lots of wrinkles and bubbles in the glass. To top it off, it was not water tite. I know that will not be acceptable so I started over.
This time, I had the brainstorm to use some polyproprolyne tight woven fabric as a liner. In prelimiary testing of the fabric, it seems to be water tight. So I spend a day planning the layout so that I could have one piece of fabric and cover the entire box with no seams.
After completeing the project, I find that the fabric IS NOT water tight. It leaks alll along the seams. No amout of caulk, silicone, fiberglass will solve the issue of waster pouring from the seams.
(No Pictue) of the finished box sitting on top of the sump and holding tanks. It looks good but really does not “fit”. And I don’t like the way it looks.
After a dismal failure of the filter box water test, I had to consider other options for making the seams water tite. The reason for even attempting to custom build it was to save money. As it turns out, I could have purchased a finished product and not had the headaches of ‘building it yourself”. The cost of the box and materials has almost doubled what I could have purchased a similar rubbermaid tank.
While considering the next step and what to do with a wooden filter box that does not hold water I discovered I had over-looked the most obvious choice. When I started this project, I purchased 6 IBC Totes. After setting up the ones I need I have two left over. I can use one of them and cut it in half and make a nice “water-tight” filter bed. The cost? $40 for the IBC. DUH !!!
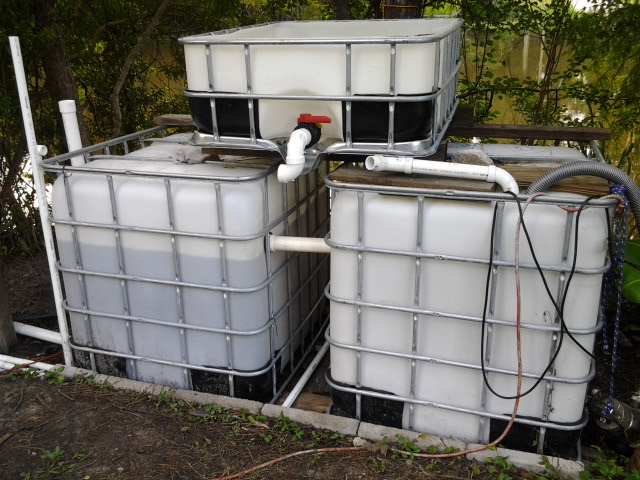
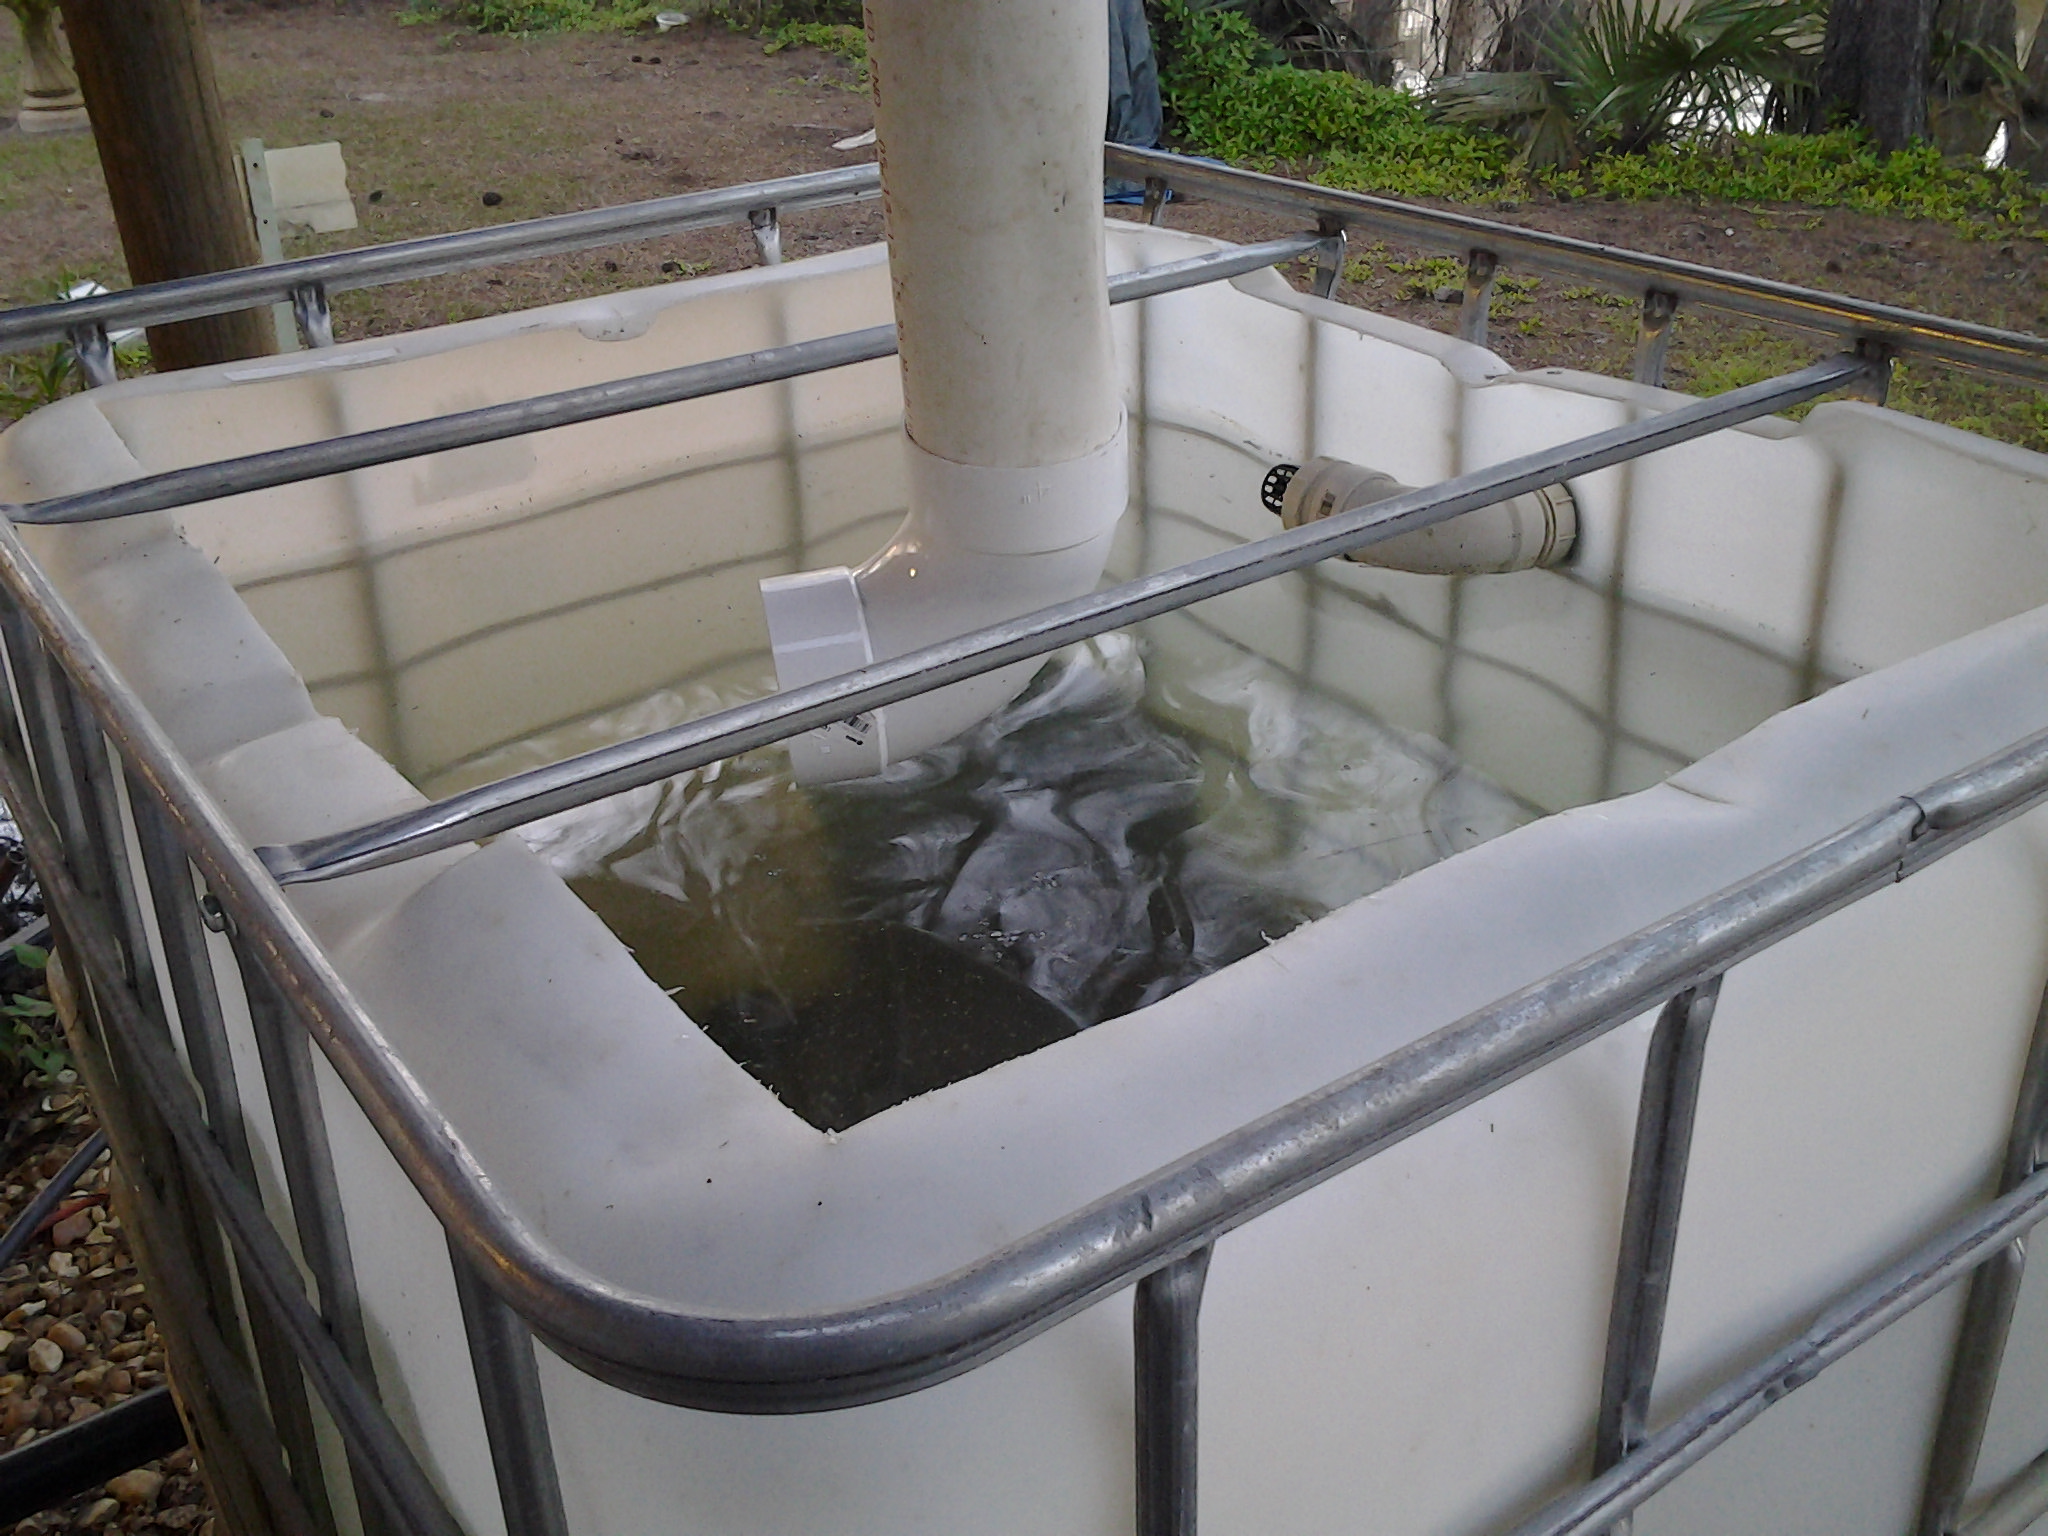
Tote Bottom on Sump
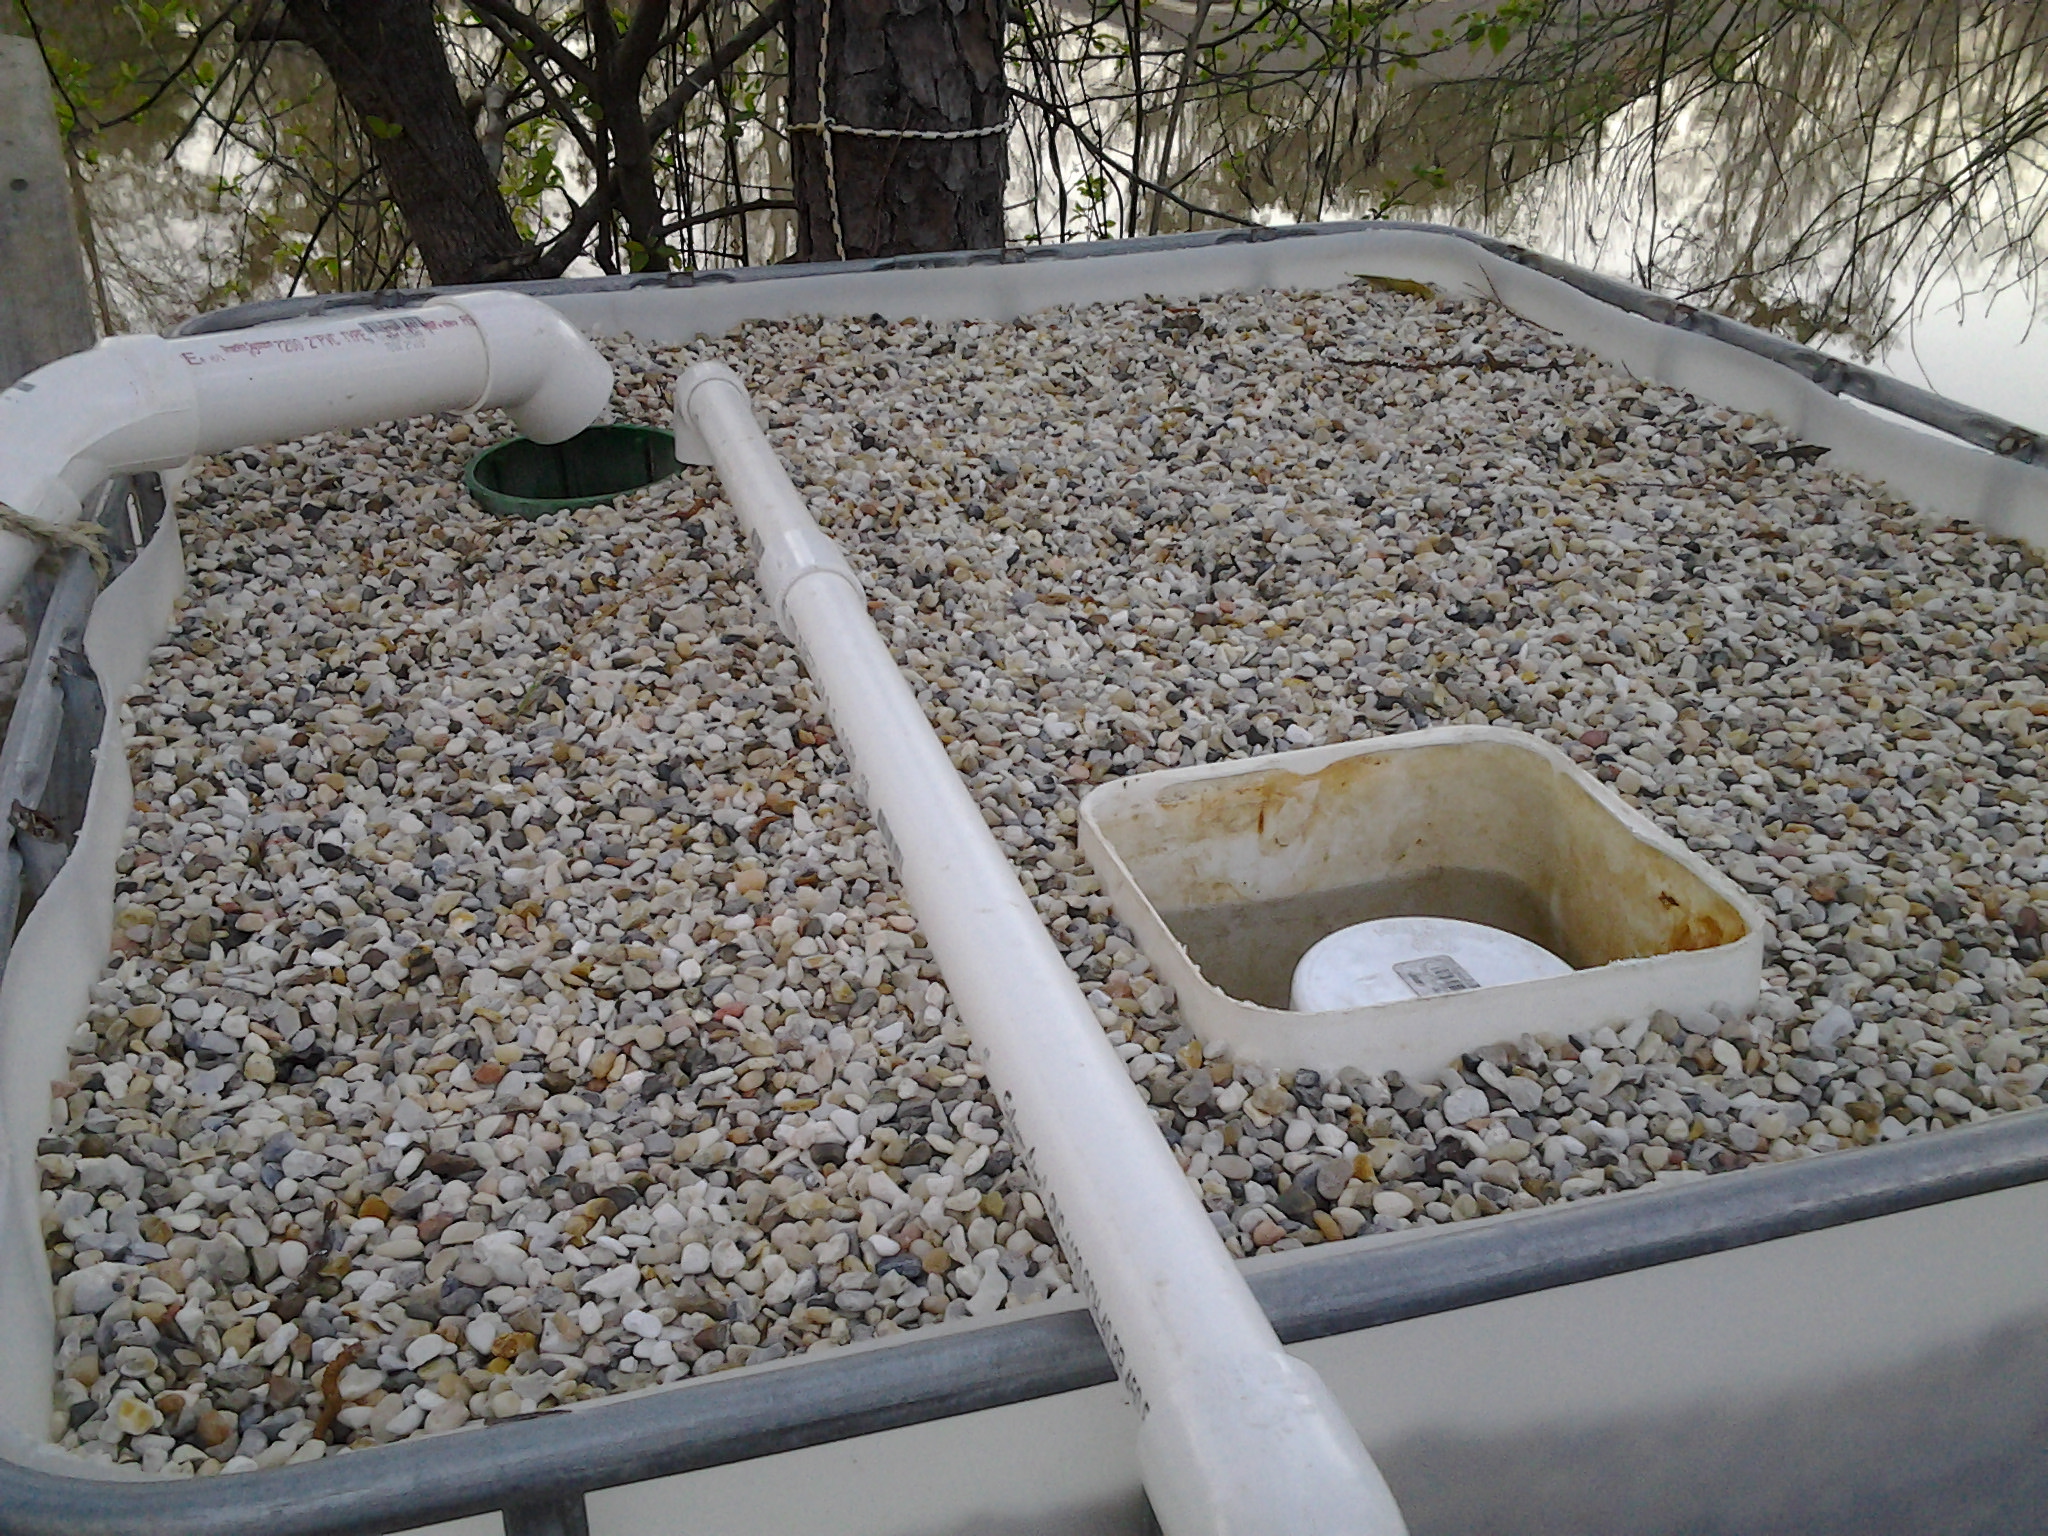
This is a picture of the tote sitting in it’s resting place on top of the Sump and Holding Totes. That looks better and I like the way it fits. 🙂
In my next post I will show you how I prepared the tote for it’s new use. I’ve designed it with what I consider a great water transfer desing. It does not require any cutting of holes in the tote.
After a day (weekend) such as this, I’m calling it a night.
